Review · PHOTOGRAPHY WORKSHOPS & LESSONS
Amsterdam Photography Masterclass – Private Photography Lesson
Amsterdam rewards a camera-ready walk. This private three-hour lesson combines sightseeing with real instruction, taking you from the Amsterdams Lieverdje statue to the Magere Brug, Rijksmuseum, and several canal views. I like the way you get both a professional photographer guide and a local guide, plus the freedom to choose a daytime or evening departure.
I also like the small group limit of four people. That gives you a much better chance to ask about camera settings and get help with your own shots. The main drawback is the price: at $204.24 per person, this is a serious spend for three hours, and you must bring your own DSLR camera.
Quick points before you book
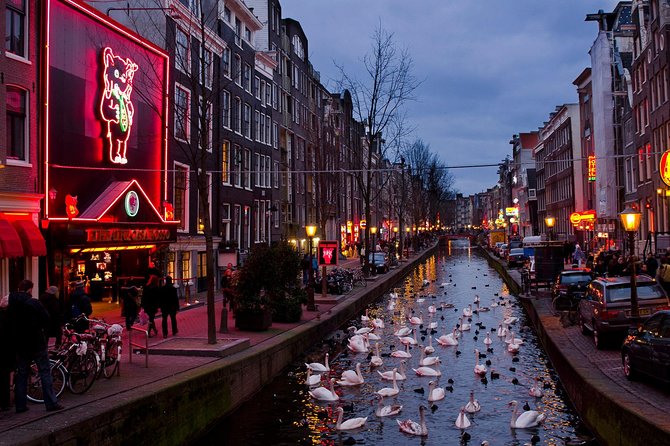
- Nine photo stops in three hours: Each location receives about 20 minutes, creating a brisk but varied route through central Amsterdam.
- Private instruction: Only your own group participates, with a maximum of four people per booking.
- Strong night-photo option: Evening lessons can help you learn low-light settings, a skill that one participant especially valued after finally producing successful night photos.
- Bring your own DSLR: A camera is not supplied. A tripod can be requested, but it is not included automatically.
- Free cancellation up to 24 hours ahead: Changes or cancellations inside that window are not accepted for a refund.
- All-weather operation: You need to dress for Amsterdam’s conditions, since the tour runs in rain or shine.
What this Amsterdam photography lesson really offers
This is not simply a guided walk where somebody points out attractive buildings. The point is to help you use your camera with more purpose while moving through some of Amsterdam’s most photogenic central sights.
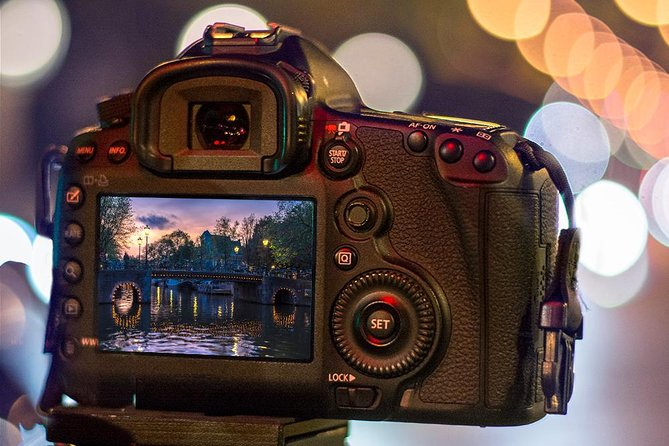
You can expect the guide to work with the camera you bring, explain settings, and help you make better choices about composition. One participant, Renzo, was praised for helping a beginner understand the capabilities of a camera and produce successful night photographs in a short time. Another person appreciated receiving practical tips that were difficult to pick up from books alone.
That is the strongest reason to consider this experience. You are not paying only for a route through Amsterdam. You are paying for personal attention while you practice. If you already understand exposure and manual controls, you may want to tell the guide exactly what you hope to improve. If you are new to photography, bring questions and expect to learn by taking pictures rather than sitting through a formal classroom session.
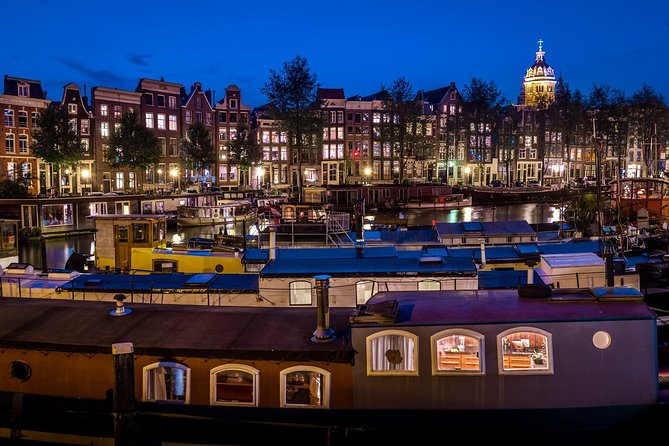
The route is also flexible in spirit. You can select a daytime or evening departure, depending on the date and schedule. Daylight will help with architectural detail and color, while evening conditions offer a chance to work on low-light photography and reflections. The precise departure time depends on your selected date, so check it carefully before booking.
More Private Photoshoots in Amsterdam
- Private Photo Session in Amsterdam
★ 5.0 · 15 reviews - Amsterdam Private Photo Session Tour
★ 5.0 · 11 reviews - Amsterdam Canals Photoshoot: Private Solo, Family or Couples
★ 4.9 · 9 reviews
Starting at Leidsekade and moving through Amsterdam
The meeting point is Leidsekade 97, 1017 PN Amsterdam. The activity also ends back at the meeting point, which makes the logistics simple if you are building it into a day of sightseeing.
The tour visits nine locations, with approximately 20 minutes at each. That works out to the full three-hour duration. You will cover a good amount of ground, so comfortable shoes and weather-ready clothing matter. The route is near public transportation, but the supplied information does not specify whether transport between stops is included. Plan on walking as the main part of the experience unless your guide tells you otherwise.
The 20-minute format has two sides. You get a useful series of subjects without spending the whole afternoon at one monument. On the other hand, you will need to work efficiently. If you enjoy setting up a tripod, changing lenses, or waiting for a very specific light effect, the pace may feel quick.
The nine stops, from Lieverdje to Nieuwmarkt
1. Amsterdams Lieverdje
The statue called Amsterdams Lieverdje is the first shooting stop. The name refers to a figure representing Amsterdam’s streetwise, good-hearted character, and its central setting makes it a practical opening subject.
Here, I would expect the guide to help you get comfortable with the camera before the route becomes more demanding. You can work on framing a small statue against its surroundings, managing people in the background, and deciding whether the subject or the surrounding city should dominate the image.
Because you have only about 20 minutes, this is a lesson in making quick decisions. That is useful preparation for the rest of the walk.
More Private Photoshoots in the Netherlands
- Amsterdam: Private Photoshoot in iconic locations
★ 5.0 · 4 reviews - Amsterdam: Photography Masterclass – Private Photo Lesson
★ 5.0 · 2 reviews - Amsterdam Photographer: Private Proposal Photoshoot Session
★ 5.0 · 2 reviews
2. Voetboogstraat and Beijbhof de Voetboogsteeg
The second stop focuses on the Beijbhof de Voetboogsteeg in Voetboogstraat. This gives the route a change of scale. Instead of a single statue, you are working with a narrow urban setting where lines, entrances, walls, and changing light can shape the photograph.
This is a good place to ask about composition. A professional guide can help you see how to use the edges of a passage or doorway to draw attention toward the center of the frame. It also gives you a chance to compare a close architectural view with the more open city scenes later in the tour.
The time limit is worth keeping in mind. Be respectful in narrow public spaces and follow your guide’s direction about where to stop.
3. Bridges along Leidsegracht
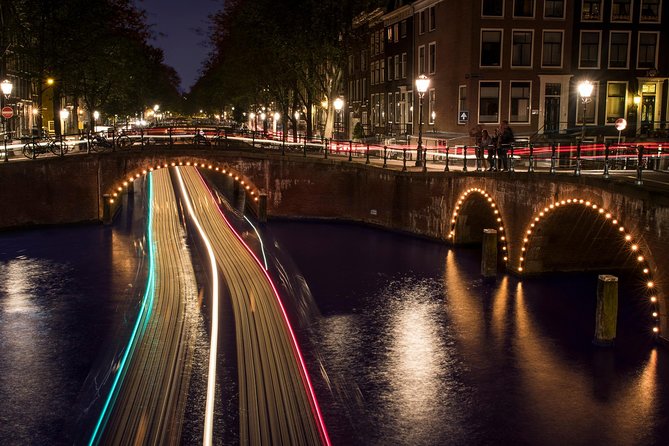
Amsterdam’s bridges are among the easiest subjects to photograph, but they are not always easy to photograph well. Along Leidsegracht, you will work with bridges, canals, water, and the repeating lines of the city.
This is where instruction about viewpoint becomes especially useful. A small shift in position can change the shape of a bridge, the balance of the canal, and the amount of sky in the frame. Your guide can also help you choose settings for water, moving people, and changing light.
For a daytime session, this stop should offer clear architectural detail. For an evening session, the canal can give you reflections and stronger contrasts. The exact conditions will depend on the date and weather, which is part of the reality of outdoor photography.
4. Rijksmuseum and its grounds
The Rijksmuseum provides a larger architectural subject and more open space. You will photograph the museum and its grounds, giving you options for broad views as well as closer details.
I like this stop because it can reveal how different lenses affect a familiar landmark. A wide view may emphasize the building and its setting, while a tighter composition can focus attention on entrances, arches, or decorative details. If you are not sure how to choose, this is a useful moment to ask the photographer guide to compare approaches.
The grounds may have other people moving through them, so you will need patience and awareness. Twenty minutes is enough for a focused exercise, but not enough for endless experimenting.
5. The Amstel and Magere Brug
The Magere Brug is one of the route’s most recognizable subjects. You will photograph the bridge and the Amstel, combining architecture with open water.
This is likely to be one of the most rewarding stops for learning how to handle a scene with several competing subjects. Should the bridge fill the frame, or should the river lead the eye toward it? Should you emphasize symmetry, reflections, or the surrounding city?
An evening visit may be especially useful here. One participant specifically praised Renzo for teaching night photography and helping produce successful night shots. If low-light photography is your main goal, ask for an evening departure and make that aim clear when the session begins.
A tripod is available upon request, but it is not automatically supplied. If you want one for long exposures, ask in advance rather than assuming it will be waiting at the meeting point.
6. Nieuwe Kerk
The Nieuwe Kerk gives you another major architectural subject, this time in the heart of the city. The focus is on shooting the church, not on entering it or taking a guided interior visit.
That distinction matters. The experience includes photography instruction and sightseeing, but it does not list entrance tickets or interior access. You should think of this stop as an exterior photography exercise, with attention to structure, perspective, and the way the building fits into its urban setting.
The guide can also help you avoid the standard postcard composition. Even a familiar building can look more personal if you change your angle, use surrounding lines, or give the image more breathing room.
7. Blauwbrug
The Blauwbrug is another bridge subject, but it gives you a chance to build on what you learned at Leidsegracht and the Magere Brug.
Repeating subjects are useful in a photography lesson. You can test whether the same settings work in a different location, compare bridge shapes, and see how background elements change the feel of the picture. If you are learning manually, the guide can help you understand why a setting that worked earlier may need adjustment here.
This stop may feel less dramatic if you are mainly interested in landmark buildings. It makes more sense for someone who wants to improve at urban photography, where bridges, streets, and water often appear together.
8. Nieuwmarkt
Nieuwmarkt brings a public square into the route. The subject is less about one isolated monument and more about arranging several parts of a city scene.
You might work on framing the square, controlling distractions, and finding a clear subject when there is plenty happening around you. This can be useful practice because good travel photographs are not always found in quiet, empty settings.
The stop also gives you a different visual rhythm after several bridges and formal buildings. If you prefer architecture over street scenes, you may find this part less immediately appealing. If you want to make photographs that feel connected to daily Amsterdam, it has real value.
9. Huis Bartolotti
The final stop is Museumhuis Bartolotti, a distinctive Amsterdam building that gives you one last chance to work with detailed urban architecture.
This is a fitting end to the route because it returns attention to a single building after the river views and public square. You can review the skills used earlier: framing, perspective, detail, and the treatment of light.
Since the activity ends back at the meeting point, the final location does not leave you stranded across the city. You can finish the lesson, collect your equipment, and continue with your Amsterdam plans from there.
Why the private format matters
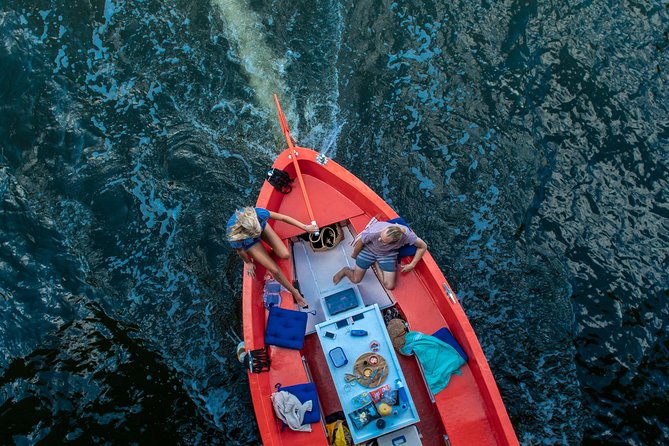
The maximum is four people per booking, and only your own group takes part. That is a major advantage over a large photo walk where the guide must divide attention among many cameras and skill levels.
The guide can tailor the session to the type of pictures you want. One participant specifically valued having the route adjusted around preferred subjects and receiving help with camera settings. That is the kind of personal service that makes the price easier to justify.
Still, the group size does not mean the lesson will be entirely customized minute by minute. The route has nine planned stops, and each receives about 20 minutes. You will get personal instruction within a structured walk, not an unlimited private workshop.
If you are traveling with a partner or family member, the private arrangement can also work well. The group discount feature may reduce the cost for multiple people, though the exact discount is not stated. Check the price shown for your group before paying.
Daytime or evening: choose for your photography goals
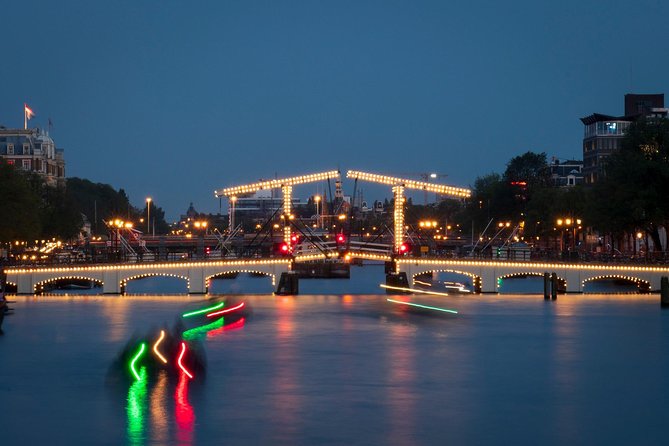
The daytime option is the safer choice if you want to see architectural details clearly and keep camera settings simple. It may suit a first lesson, especially if you are still learning how shutter speed, aperture, and focus affect your images.
The evening option has more creative potential but may demand more from you. Low light can produce attractive city scenes, yet it also exposes gaps in your understanding of settings and stability. That is not a reason to avoid it. In fact, the private guidance may be most useful at night, particularly if you have struggled with night photos before.
Bring a charged camera, enough storage, and any lens you normally use. The experience requires you to bring your own DSLR. Food and drinks are not included, so plan those separately around the three-hour session.
The $204.24 price and who gets good value
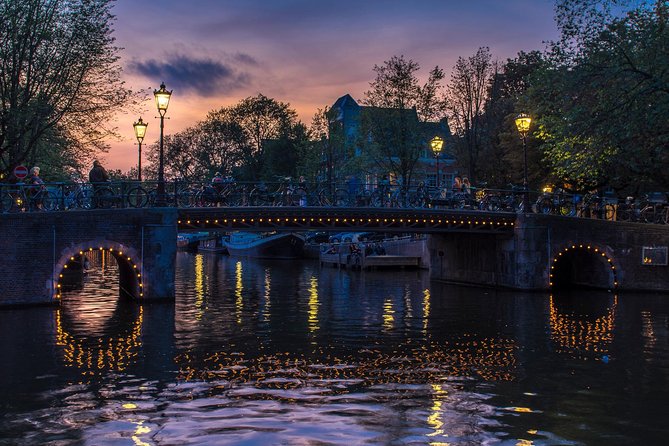
At $204.24 per person, this is not a cheap way to see Amsterdam. The value depends on what you want from the outing.
If you only want photographs of famous Amsterdam sights, a normal city walk will cost less. You can see many of these places independently and take pictures at your own pace. This experience earns its higher price through the private format, the professional photographer guide, and the chance to ask questions throughout the route.
I think it makes the most sense for three types of people:
- You own a DSLR but do not feel confident using its full range of settings.
- You want specific help with night photography, composition, or camera controls.
- You prefer a private lesson that combines sightseeing with hands-on practice.
It is less suitable if you do not own a camera, dislike walking outdoors in uncertain weather, or want a slow architectural tour with lots of time at each stop. The experience is active and fairly brisk.
The perfect rating and full recommendation record suggest a consistently strong experience, particularly in teaching quality and personal attention. The praise is most specific around the guides’ patience, polite manner, camera advice, and ability to tailor the outing. That is more useful than generic praise because it tells you what to expect: practical coaching from people who can adjust to your ability.
Booking details that can save trouble
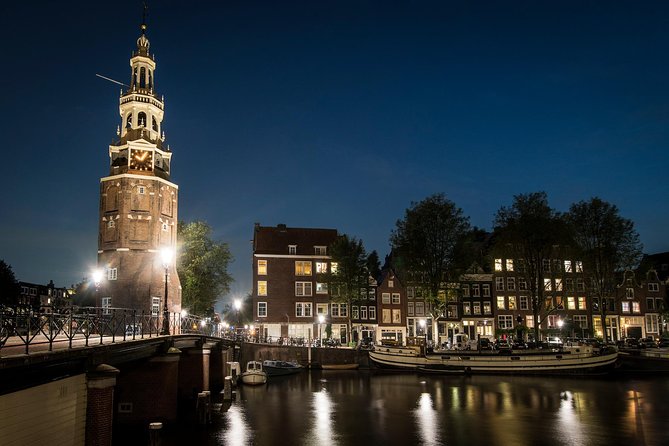
You receive confirmation at booking. Check the departure time for your selected date, since it varies. The meeting point is near public transportation, but you should arrive at the exact address rather than relying on a familiar nearby landmark.
One person initially went to the wrong meeting place and was able to reach Renzo, who connected promptly. That is reassuring, but it is still smarter to save the address and allow time to get there.
The tour operates in all weather conditions. Wear suitable clothing and protect your camera as needed. Service animals are allowed, and most people can participate, but the activity remains an outdoor walking experience.
Cancellation is free up to 24 hours before the start time for a full refund. Inside 24 hours, the payment is not refunded, and changes are not accepted. The cut-off follows local Amsterdam time.
Should you book the Amsterdam Photography Masterclass?
Book it if you want to leave Amsterdam with better camera skills, not just a folder of snapshots. The private group of up to four, hands-on guidance, and choice of daytime or evening timing make this a strong fit for photographers who want personal help.
I would choose the evening session if night photography is your weak spot, and I would request a tripod in advance if you plan to work with long exposures. If you are a complete beginner, do not worry about knowing every camera control before you arrive. The strongest teaching feedback centers on patient help with settings and practical results.
Skip it if you do not own a DSLR, want a leisurely sightseeing tour, or feel $204.24 is too much for a three-hour activity. For the right photographer, though, this is a useful way to see Amsterdam, practice with purpose, and come home with more than the usual canal picture.
FAQ
Where does the Amsterdam Photography Masterclass start?
It starts at Leidsekade 97, 1017 PN Amsterdam, Netherlands. The activity ends back at the same meeting point.
How long does the photography lesson last?
The lesson lasts approximately three hours. It includes nine stops, with about 20 minutes at each location.
How many people can join the private tour?
A maximum of four people can participate per booking. Only your group takes part in the private activity.
Do I need to bring my own camera?
Yes. You are asked to bring your own DSLR camera. A tripod is available upon request, but a camera is not included.
Can I choose a daytime or evening departure?
Yes. The experience offers daytime and evening tours. The departure time depends on the date you select, so check the schedule carefully.
What happens if the weather is bad?
The tour operates in all weather conditions. You should dress appropriately for Amsterdam’s weather and protect your camera as needed.
More Photography Workshops and Lessons in Amsterdam
- Paris Photography Masterclass – Private Photography Lesson
★ 5.0 · 112 reviews - 2-Hour Photography Class While Touring Downtown Santa Fe, Smart Phones Welcome!
★ 5.0 · 108 reviews - Unique Rome by Night, Photo Tour and Workshop Under the Stars
★ 5.0 · 96 reviews - Elevate Your Photography – Barcelona Private Tour & Workshop
★ 5.0 · 78 reviews
Just added around Amsterdam
- Capture Iconic Amsterdam: Photo Walk with a Pro Photographer★ 5.0 · 2 reviews
- Amsterdam: Professional Photoshoot at the Canals★ 5.0 · 3 reviews
- Amsterdam: Professional photoshoot at Centraal Station★ 4.6 · 7 reviews
- Amsterdam: Private Photoshoot in iconic locations★ 5.0 · 4 reviews
- Amsterdam: Photography Masterclass – Private Photo Lesson★ 5.0 · 2 reviews
- Amsterdam: Professional photoshoot at Dam Square.★ 5.0 · 2 reviews
- Amsterdam: Particular Photo Session★ 4.1 · 7 reviews
- Amsterdam Photographer: Private Proposal Photoshoot Session★ 5.0 · 2 reviews
Photography Workshops & Lessons, compared.
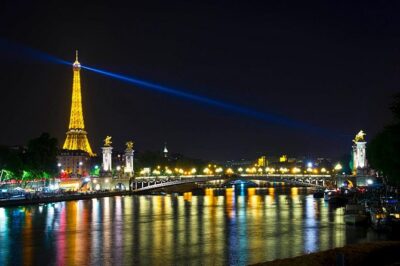
Paris Photography Masterclass – Private Photography Lesson
Read our review →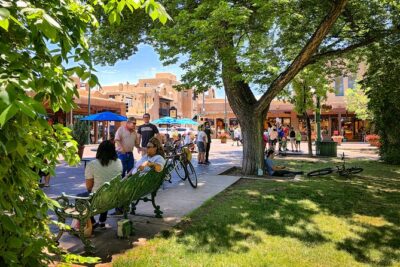
2-Hour Photography Class While Touring Downtown Santa Fe, Smart Phones Welcome!
Read our review →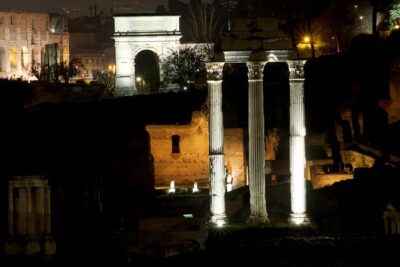
Unique Rome by Night, Photo Tour and Workshop Under the Stars
Read our review →
Elevate Your Photography – Barcelona Private Tour & Workshop
Read our review →
Rome Photography Masterclass – Private Photography Lesson
Read our review →
Venice Photography Masterclass – Private Photography Lesson
Read our review →
Edinburgh Photography Masterclass – Private Photography Lesson
Read our review →