
Review · NIGHT & ASTRO PHOTOGRAPHY
Milky Way Photography in Arches National Park
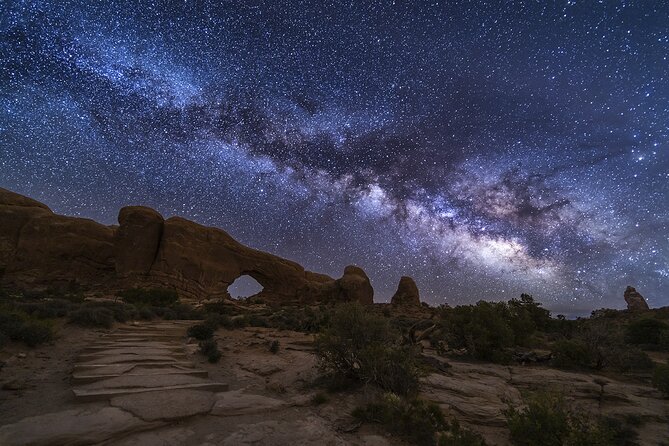
The desert sky changes everything. Milky Way photography in Arches National Park combines a short camera lesson with night shooting at at least two park locations, giving you both striking scenery and useful hands-on practice. I especially like the small maximum of four people and the patient instruction from Colin and Geremy. The main catch is timing: spring departures can begin very late, and you need capable camera gear to get the best results.
I also like the practical touches, including water for refilling bottles, snacks with gluten-free options, and composition advice shaped by strong local knowledge. This is not a casual stargazing outing with a phone-only focus, though late-model iPhones may work. If you have poor night vision, a tripod you cannot carry, or little interest in learning manual camera settings, you may find the tour less comfortable.
Key points to know before booking
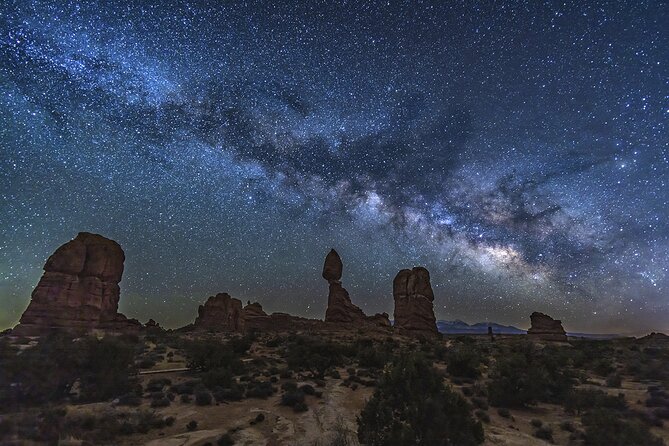
- Two or more Arches locations: The evening includes at least two spots inside the national park, giving you more than one foreground and composition.
- Small group size: The maximum is four people, which matters when you need help with camera settings in the dark.
- Spring timing is very late: From March through May, the Milky Way does not appear until after midnight, so expect a late-night pickup.
- Camera skills are part of the value: You receive instruction for DSLR and mirrorless cameras, including settings suitable for night work.
- Bring serious basic gear: A sturdy tripod, wide-angle lens, and camera able to shoot at least ISO 3200 are strongly important.
- The guides add more than technical help: Colin and Geremy can assist with composition and explain Arches geology, history, and natural features.
Why Arches works so well after dark
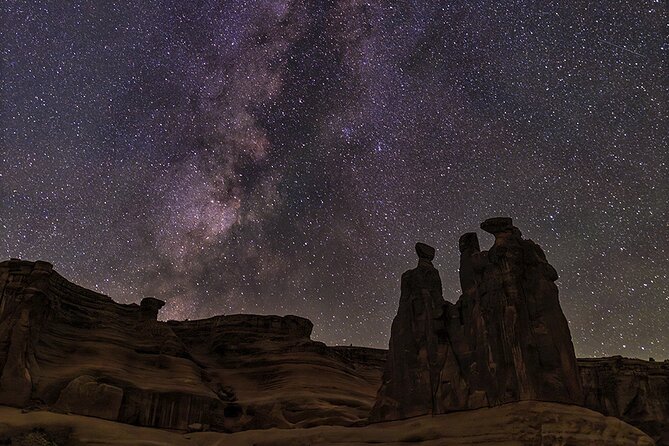
Arches National Park is an internationally recognized dark sky park, and that designation matters here. Far from major city lights, the night sky can become the main subject rather than a faint background detail. You are not simply pointing a camera upward. You are trying to balance stars, red-rock forms, and the dark spaces between them.
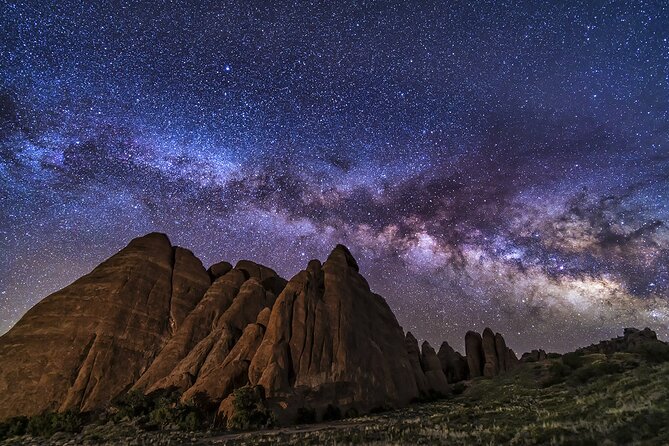
That combination gives the tour its appeal. Arches already supplies dramatic shapes by daylight, but after dark, those formations become silhouettes and foreground anchors for the Milky Way. A good photograph needs both. The stars alone can look flat, while a famous arch or cliff gives the image a sense of place.
I like that the outing is built around photography rather than a quick stop for sky viewing. You learn why a camera needs a high ISO, a wide aperture, and a long exposure. Then you get a chance to use those settings in the park, with someone available to help when the camera menu becomes more confusing than the night sky.
More Night and Astro Photography in the USA:
- Mauna Kea Stargazing Experience + Photos
★ 5.0 · 261 reviews - Private Guided Night Photography Tours on Cape Cod (for one photographer.)
★ 5.0 · 38 reviews - Moab: The Windows Astro-Photography and Stargazing Hike
★ 4.8 · 36 reviews
Starting with a camera lesson in Moab
The tour begins at the Moab Information Center on East Center Street and ends there as well. Pickup is offered, but the stated meeting point gives you a clear place to organize yourself before heading out. The total duration is about three and a half hours, so this is a focused night outing rather than an all-night workshop.
The first useful step is a crash course in settings for Milky Way photography. If you own a DSLR or mirrorless camera but usually leave it on automatic, this lesson is important. Automatic modes often struggle in very dark conditions, while manual controls let you set the balance between shutter speed, aperture, and ISO.
The required camera should be capable of shooting at least ISO 3200. That does not mean every image must use ISO 3200, but it signals the kind of low-light performance the session expects. A camera that produces heavy noise at high ISO may limit your results.
A wide-angle lens is also part of the recommended setup. On a full-frame camera, the useful range is about 14mm to 35mm. With a crop sensor, look for roughly 10mm to 24mm. The lens should open to at least f/3.5 or wider, such as f/2.8 or f/1.8. A wider aperture lets in more light and gives you more flexibility under a dark sky.
You may receive preparatory information before the outing, which can help you arrive with basic settings already in place. That is a small but valuable advantage. You spend less of the short tour searching through menus and more time making photographs.
Photographing at two Arches locations
The stated plan includes at least two locations in Arches National Park. Exact stops are not specified, and that is sensible for night photography. The best place can depend on sky conditions, timing, and the kind of composition the guide wants to show you.
At the first stop, you can expect to settle your tripod, frame the scene, and apply the settings from the opening lesson. The guide can help you handle practical problems such as focusing in near darkness, keeping the camera steady, and finding a composition that includes both stars and red rock.
The second location adds variety. A different foreground can change the whole picture, even if the sky remains the same. You might find that one stop works best for a broad view of the stars, while another gives you a stronger relationship between the Milky Way and an Arches formation.
The quality of this part depends partly on your willingness to make adjustments. Night photography is not usually point, click, and admire. You may need several attempts to find the right focus and exposure. That is where a small group helps. With no more than four people, Colin or Geremy has a better chance of giving individual advice instead of offering only a general speech.
Composition is one of the most useful parts of the experience. The guide Colin has been praised for suggesting ways to frame Arches after dark, and that kind of advice can be more valuable than another list of camera settings. You may already know how to set ISO, but still struggle to create an image with depth and a clear subject.
What Colin and Geremy add to the evening
The guide team is a major reason to consider this outing. Colin leads the experience, and Geremy may also assist. Their roles go beyond operating a vehicle or pointing out the obvious. They can help with camera controls, night photography, composition, and the park’s geology, history, and natural features.
That mix suits a first photo tour particularly well. You do not need to arrive as an expert. One person who had never taken a photo tour before received advance help with camera setup and came away with strong Milky Way images. That suggests the teaching is aimed at real people with real cameras, not only at serious astrophotographers.
The instruction also appears patient and approachable. You can ask basic questions without feeling that you should already know the answer. This matters at night, when even simple tasks can become awkward. Finding the right button, changing focus, or reading a screen under a headlamp is harder than it sounds.
Still, your results will depend on your own equipment and preparation. A guide can explain settings, but cannot turn a phone with limited night capability into a full astrophotography kit. If you have a DSLR or mirrorless camera and want to improve, the help is likely to be worthwhile. If you only want to look at stars, you may not need a photography-focused tour.
More National Park Trips around the USA:
- Half-Day Rocky Mountain National Park “Mountains to Sky Tour” – RMNPhotographer
★ 5.0 · 89 reviews - Private Guided Photography & Walking Tour of Zion National Park
★ 5.0 · 75 reviews - Full-Day Rocky Mountain National Park “Over The Top Tour” – RMNPhotographer
★ 5.0 · 42 reviews - Sunset and Night Photography in Arches National Park
★ 5.0 · 23 reviews
Spring, fall, and the problem of the clock
Timing is one of the most important details here. From March through May, the Milky Way does not appear until after midnight. During those months, the standalone night tour begins with a late-night pickup. You should think carefully about your sleep schedule before committing.
This timing can be a benefit if you want the best chance of photographing the Milky Way, but it limits the outing’s ease. A three-and-a-half-hour activity that begins after midnight can affect the rest of your day, especially if you have other early plans. Do not book it casually as a simple evening activity during spring.
The seasonal schedule also changes in fall. During that period, the operator offers a combined sunset and night tour rather than this standalone format. If you want an independent night session in autumn, check the available option before booking.
Moon and sky conditions are not detailed in the information provided, so you should not assume every departure will produce identical darkness or visibility. The tour is designed around the Milky Way, but nature still has the final say. That is part of night photography, and a patient attitude helps.
Gear that will make or break the experience
You need to bring your own camera. The tour does not supply cameras, though the guide may be able to lend a spare tripod if you lack one. That possibility is helpful, but I would not rely on it without confirming in advance.
Pack the following:
- A DSLR or mirrorless camera that can shoot at least ISO 3200
- A wide-angle lens, ideally 14mm to 35mm on full frame or 10mm to 24mm on a crop sensor
- A lens that opens to f/3.5 or wider
- A sturdy tripod
- A headlamp or flashlight, preferably with a red-light setting
- A reusable water bottle
The tripod is especially important. Long exposures magnify every shake, and handholding is not a realistic substitute. A sturdy model also makes it easier to adjust the camera without knocking the framing out of place.
A red-light setting is considerate and practical. Bright white light can interfere with your own night vision and with other people working nearby. You should still use care when walking, since the tour is not recommended for people with poor night vision.
Late-model iPhones and other advanced phone cameras may capture the Milky Way. That makes the experience more accessible than a strict professional workshop, but phone results will vary. The instruction is specifically designed for DSLR and mirrorless cameras, so serious phone users should keep expectations sensible.
Snacks, water, and the small-group advantage
The tour includes snack bars and trail mix, with gluten-free options available. These are modest provisions, but they matter during a late outing. A little food can help when your normal dinner and sleep schedule are out of rhythm.
Water is supplied in a cooler with ice, and you can refill your own bottle. That is preferable to handing out a single disposable bottle, especially when you are already carrying camera equipment. Bring a reusable container so you can take advantage of it.
The four-person maximum is one of the strongest practical features. Night photography needs time at each tripod, and camera questions are often specific to the person holding the camera. A large group would make that help harder to provide.
A small group also keeps the outing less crowded at the shooting locations. You still share the experience with other people, but you are not likely to feel lost in a long line of tripods. For someone learning, that personal attention may justify much of the price.
Is $275 a fair price?
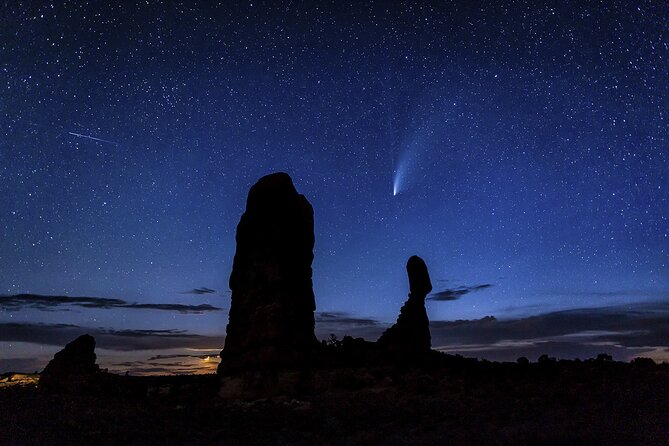
At $275 per person, this is not a budget sightseeing trip. You are paying for a specialized three-and-a-half-hour outing, park access as part of the activity, small-group instruction, transportation or pickup support, and an experienced guide who can help you use your own equipment.
The value is strongest if you already own suitable camera gear and want practical instruction. A beginner can get more from this than from simply driving into the park alone, because the difficult part is not only finding a dark sky. It is knowing how to focus, expose, frame, and repeat the process when the first image is not right.
The price is harder to justify if you have no camera, only a basic phone, or no interest in photography technique. You can still enjoy the sky, and the tour welcomes people without cameras, but the main service is instruction and guided shooting. You should not pay this amount expecting a general stargazing talk with equipment provided.
Group discounts may be available, which could improve the value for people booking together. The maximum group size remains important, since a discount should not mean sacrificing the close help that makes the outing useful.
Cancellation and planning details
You can cancel up to 24 hours before the experience for a full refund. Confirmation is sent within 48 hours of booking, subject to availability. Since the tour is often booked well ahead, with an average booking time of about 57 days, you should arrange it early if the Milky Way is a major part of your Moab plans.
Availability needs extra attention because this is a one-person operation. A calendar error once caused a booking problem, followed by alternate date and guide suggestions. That does not erase the inconvenience, so I would confirm the date and pickup details after booking, especially if other activities depend on this one.
The experience is offered in English. It requires a moderate level of physical fitness, and poor night vision is a specific concern. You should be comfortable moving around in dark outdoor conditions while carrying a camera and tripod.
Who should book this night tour?
I would recommend it most strongly to:
- A DSLR or mirrorless owner who wants clear guidance
- A beginner who feels unsure about manual camera settings
- A photographer who wants better foreground composition in Arches
- A small group that values personal instruction
- Anyone who has never seen a truly dark desert sky near a major city
You may want to skip it if you need a relaxed evening, dislike late-night hours, or do not have suitable equipment. It is also not the best choice for someone with poor night vision or limited comfort walking outdoors in darkness.
Should you book Milky Way Photography in Arches?
Book it if you want more than a quick look at the stars. The strongest reasons are the four-person limit, instruction from Colin and Geremy, at least two shooting locations, and the chance to place the Milky Way above Arches scenery rather than photograph an empty sky.
Before paying $275, check your camera, lens, tripod, and schedule. Spring departures can start after midnight, and the tour cannot provide a camera for you. If those conditions fit, this offers a focused way to learn night photography in one of the finest dark-sky settings in the American Southwest.
FAQ
Where does the tour begin and end?
It begins at the Moab Information Center, 25 E Center Street, Moab, Utah, and ends back at the meeting point.
How long does the experience last?
The tour lasts approximately three hours and 30 minutes.
How many people can join?
The maximum group size is four people.
Is pickup available?
Yes, pickup is offered.
What camera should I bring?
Bring a DSLR or mirrorless camera capable of shooting at least ISO 3200. Late-model iPhones and other advanced cell phone cameras may also be able to capture the Milky Way.
What lens is recommended?
A wide-angle lens is recommended. Use roughly 14mm to 35mm on a full-frame camera or 10mm to 24mm with a crop sensor, with an aperture of f/3.5 or wider.
Do I need a tripod?
A sturdy tripod is recommended. The guide may be able to loan a spare tripod, but cameras are not provided.
When does the tour start in spring?
From March through May, the Milky Way appears after midnight, so the standalone tour begins with a late-night pickup.
What is included in the price?
The tour includes snacks, gluten-free options, bottled water supplied from a cooler for refilling reusable bottles, and instruction on photographing the Milky Way with a DSLR or mirrorless camera.
Just added around the USA
- Sunset and Night Photography in Arches National Park★ 5.0 · 23 reviews
- Sunrise photography in Dead Horse Point and Canyonlands National Park★ 5.0 · 8 reviews
- Day of Photography in Moab, Arches & Canyonlands★ 5.0 · 34 reviews
- Kenosha Downtown Urban Art and Photography Walking Tour★ 5.0 · 11 reviews
- Private Wynwood Miami Photoshoot★ 3.0 · 2 reviews
- Private Sunset and Night Photo Tour★ 5.0 · 3 reviews
- Private Vacation Photography Session with Local Photographer in Miami★ 3.0 · 2 reviews
- Miami: Professional Private Photoshoot at Miami Beach★ 5.0 · 2 reviews
Night & Astro Photography, compared.
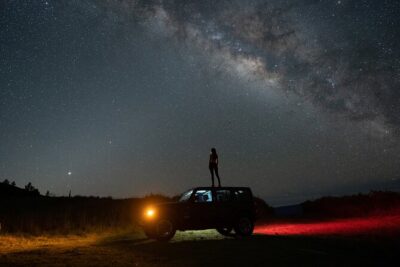
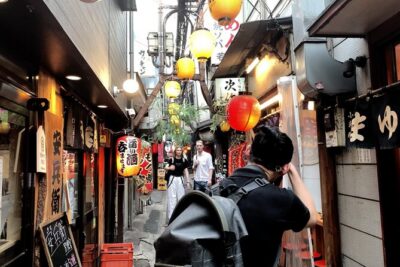
Tokyo by Night Photography Tour (Private Option Available)
Read our review →
Night Photo Session in a Fiat 500 with Aperol Spritz
Read our review →
Private Guided Night Photography Tours on Cape Cod (for one photographer.)
Read our review →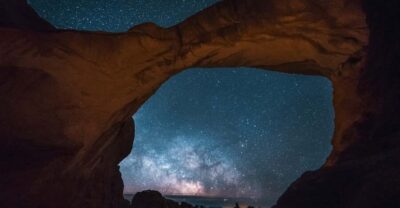
Moab: The Windows Astro-Photography and Stargazing Hike
Read our review →Browse the lists this shoot appears in