
Review · NIGHT & ASTRO PHOTOGRAPHY
Moab: The Windows Astro-Photography and Stargazing Hike
Stars turn Arches into another world. This two-hour night hike through The Windows area combines Milky Way viewing with hands-on photography lessons, so you are not simply staring upward and hoping your phone catches something. I especially like the small group of six and the included red headlamps and tripods. The main drawback is the $175 price, especially since park admission, transportation, and optional camera rentals cost extra.
Guide Sam has helped visitors get strong night shots with both cameras and phones, while Brandon has earned praise for patient instruction and careful guidance near drop-offs. You will hike about two miles after dark, so this suits curious photographers who are comfortable on uneven ground, but not anyone seeking a casual roadside stargazing stop.
Key points to know before you book
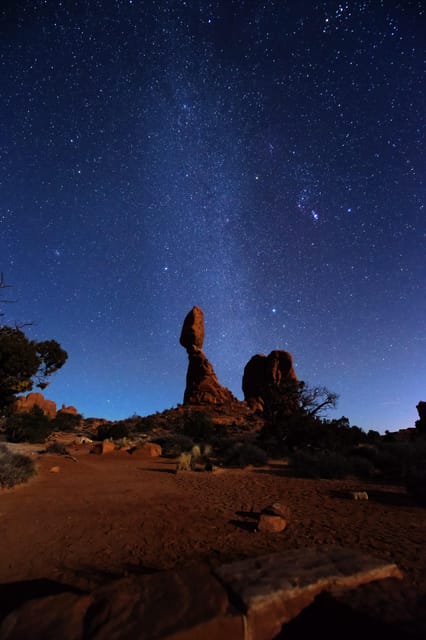
- The route visits three major Arches sights: North Window, South Window, Turret Arch, and Double Arch, with Double Arch serving as the final photography highlight.
- You can use your own phone or camera: Guides have helped visitors produce good images with iPhones, smartphones, and dedicated cameras.
- The group is limited to six people: That gives the guide more time to adjust settings and help each person frame a shot.
- Red headlamps and tripods are included: You do not need to bring a tripod, though you should bring a charged phone or camera.
- Camera rentals are optional: A DSLR camera and Canon EF/EFS or Nikon F mount lens can be rented for an added fee.
- Moonlight changes the experience: A full moon can make the arches easier to see, while a darker sky is better for strong Milky Way viewing.
Why a night visit to The Windows feels different
Arches National Park changes character after sunset. In daylight, The Windows area is all about scale, color, and the bold shapes of Entrada Sandstone. At night, your attention shifts upward and inward. Headlamps pick out the trail, the rock cools around you, and the sky becomes the main attraction.
The tour begins after dark at the first parking lot on the right at The Windows trailhead. You meet the English-speaking guide there, receive a red LED headlamp, and collect a tripod if you need one. The red light matters because it helps you move safely without flooding the area with harsh white light.
This is a guided walk, not a stationary telescope session. You follow the guide through the rock formations for roughly two miles, stopping at useful viewpoints to learn camera settings and compose photographs. The pace should allow time to practice, though the short two-hour schedule means you will want your camera or phone ready before the tour starts.
I like this format because you see several famous formations rather than spending the whole evening beside one overlook. The tradeoff is that you need to divide your attention between walking, listening, finding safe footing, and managing your camera.
More Night and Astro Photography in the USA:
- Mauna Kea Stargazing Experience + Photos
★ 5.0 · 261 reviews - Private Guided Night Photography Tours on Cape Cod (for one photographer.)
★ 5.0 · 38 reviews - Brooklyn Bridge at Night Photography Tour
★ 5.0 · 10 reviews
North Window, South Window, and Turret Arch after sunset
The first part of the route takes you through the Windows area, where North Window and South Window create huge natural frames against the sky. During daylight, these arches can feel almost too large to take in at once. At night, the guide helps you slow down and use their outlines as foreground shapes.
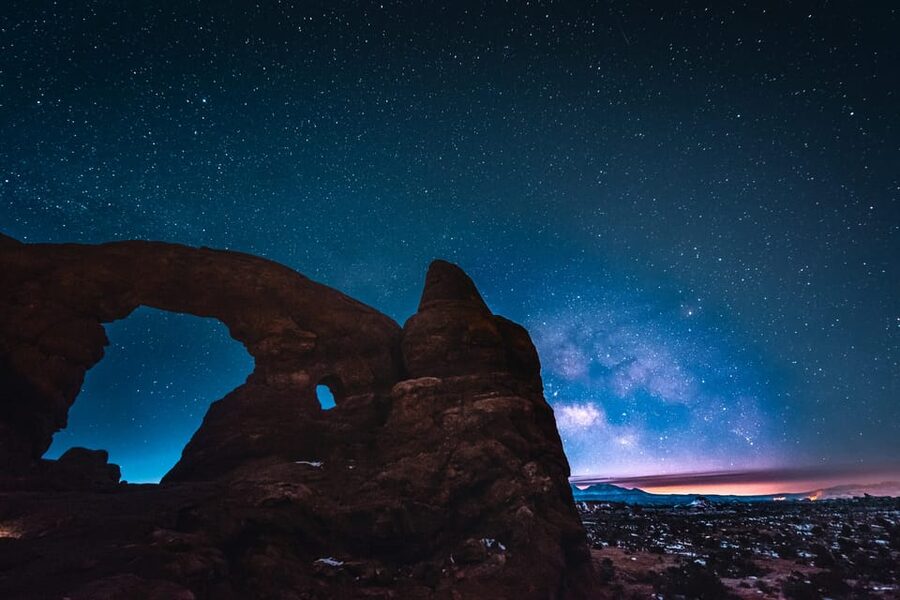
Turret Arch adds another strong subject for photographs. The point is not just to record the arch. You learn how to place it beneath the stars, how to keep the rock from becoming a black blob, and how to make the sky part of the composition.
The guide also explains the forces that shaped these formations. That natural context gives the walk more meaning, especially when you are standing beneath a star-lit opening carved by erosion over vast stretches of time. You are not getting a full geology lecture, but the setting invites a useful pause between camera adjustments.
Safety matters here. The route involves walking in darkness around uneven rock and drop-off points. Guide Brandon was praised for pointing out edges and keeping the group away from dangerous spots. That kind of attention is more valuable at night than a long list of astronomy facts.
Learning night photography without owning a DSLR
The strongest part of this experience is the practical instruction. Astrophotography can look mysterious when you see the final image, but the basic process becomes less intimidating when a guide helps you set up one step at a time.
You learn the fundamentals of operating your camera for dark conditions and get time to test what you have learned. The instruction can include:
- Finding a suitable composition beneath an arch
- Using a tripod to keep the camera steady
- Adjusting camera settings for the night sky
- Working with a smartphone’s night photography features
- Framing the Milky Way above the red rock
- Reviewing an image and making a better second attempt
A dedicated DSLR is not required. Several people have received useful help with iPhones, and Sam has shown visitors how to use phone features for night images. That makes the tour more welcoming than the word astrophotography might suggest.
Still, keep your expectations sensible. Your camera may record stars that your eyes cannot see, especially with a longer exposure. That does not mean the sky looked exactly like the finished photograph. The image gathers light over time, so the result can be more detailed and brighter than the immediate view.
You can also request a rental DSLR camera and, if needed, a compatible lens before the tour. The available lens mounts are Canon EF/EFS and Nikon F. Since rental fees are extra, ask about the cost and equipment before committing. A rental can make sense if you want to try serious night photography without buying gear, but it adds expense to an already costly activity.
Double Arch provides the evening’s big finale
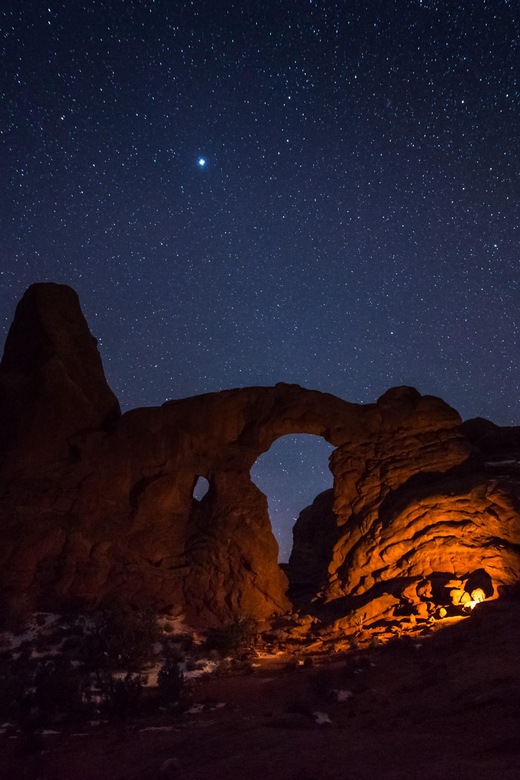
After North Window, South Window, and Turret Arch, the group continues to Double Arch. This is the final major stop and the place where the tour aims for its strongest images.
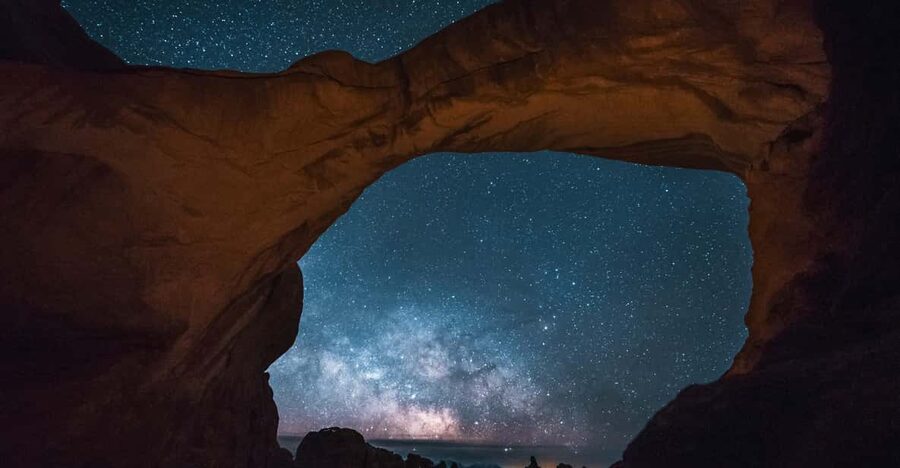
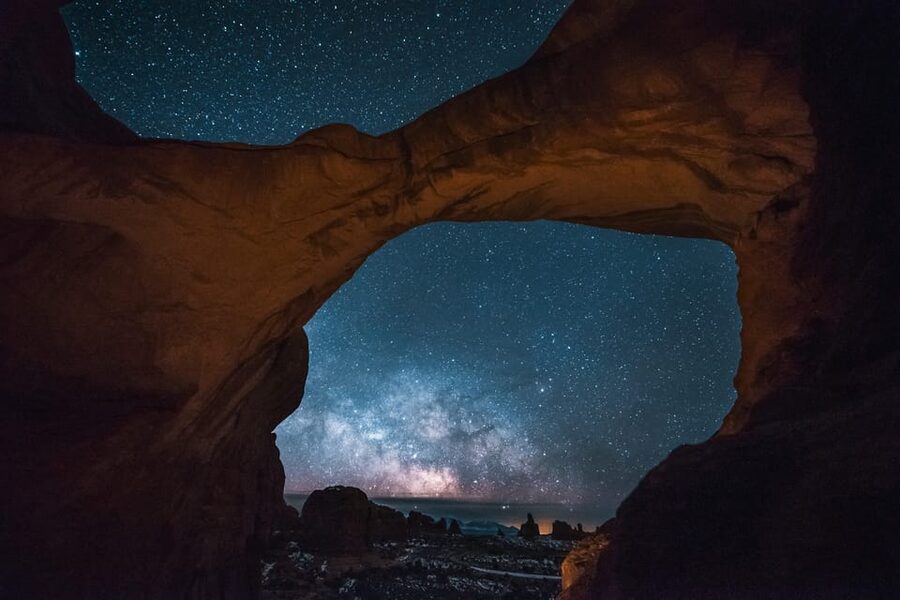
Double Arch gives you a large, dramatic subject with plenty of open sky around it. Under a dark sky, the arch can frame the Milky Way in a way that feels far removed from city lights. The guide gives you time to apply the techniques from earlier stops, which is important. You are not just being led from one photo stop to the next. You are practicing until the settings begin to make sense.
This is also where a tripod becomes especially useful. A steady camera lets you use a longer exposure and capture more stars. If you are using a phone, the guide can help you find its night mode or similar controls, though the exact options depend on your device.
The final images may become the best souvenir of your Moab visit. You leave with more than a quick snapshot because you have learned how to repeat the process at another dark-sky location.
More Hikes and Treks around the USA:
- Antelope Canyon X Hiking Tour (with Option Upgrade to Photo Tour)
★ 4.5 · 161 reviews - Sunset Hike and Photography Tour near Red Rock with Optional 7 Magic Mountains
★ 5.0 · 149 reviews - Sunset Hike and Photography Adventure in South Lake Tahoe
★ 5.0 · 74 reviews - Las Vegas: Sunset Hike and Photography Tour Near Red Rock
★ 4.7 · 67 reviews
Moon phase, Milky Way views, and realistic expectations
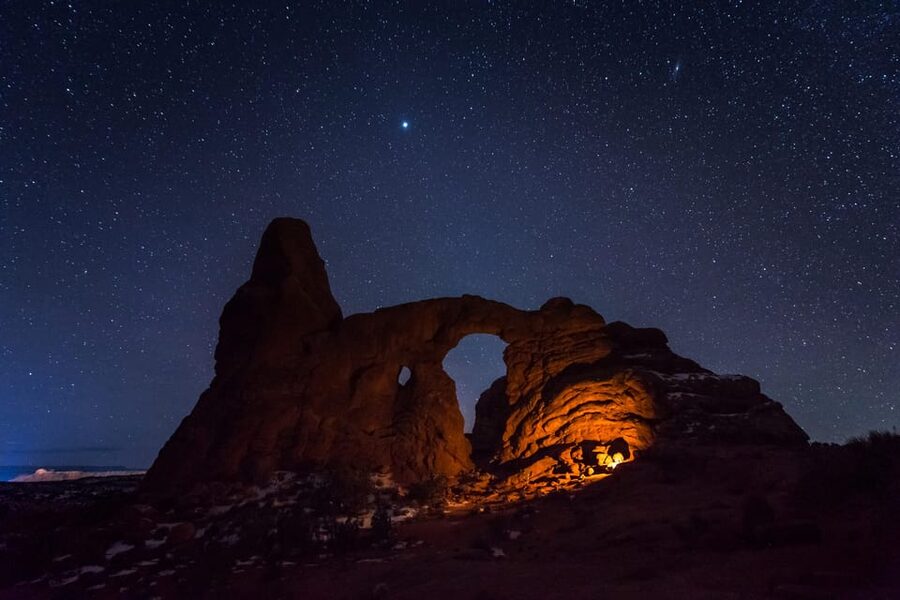
The moon changes the mood of this outing. A dark moonless sky generally gives you a better chance of seeing the Milky Way clearly, while a full moon lights the rock formations and makes the trail feel more visible. Neither option is automatically the right one.
A full moon can produce beautiful scenes, as one July outing showed. The arches become easier to see, and the moonlight can give the rock a soft glow. If your priority is a very dark sky and maximum star visibility, contact the provider about joining when the sky is darker.
The experience can also vary with conditions. One November outing included a view of the northern lights, which was an unusual bonus rather than something you should expect on every date. Clear skies are important, but no tour can promise a particular celestial event.
The guide can help you understand what the camera is capturing, but you should not assume that every image will be perfect. Night photography takes trial and error. The small group helps because the guide can spend time with individuals, but you still need patience.
What the $175 price really covers
At $175 per person, this is not a cheap way to see Arches at night. The fee pays for a two-hour guided hike, a small group capped at six, photography instruction, red LED headlamps, and tripods when needed.
That price makes more sense if you value personal coaching. A guide who patiently works through camera or phone settings can save you hours of guesswork. The value is also higher if you do not own a tripod or have never tried photographing stars.
You must add the Arches entry pass, which is listed at $30 per standard vehicle, and provide your own transportation to The Windows parking area. DSLR cameras and lenses are available for an additional rental charge. For a couple or family, the total cost can rise quickly.
I would compare this with the cost of buying or carrying your own tripod, paying for a general stargazing event, and learning camera settings alone. If your main goal is simply to see stars, the price may feel high. If you want instruction, a guided route, and photos of the Windows formations, the fee is easier to justify.
Who will enjoy this hike most
This is a good choice for:
- Adults and older children who can walk about two miles in the dark
- First-time astrophotographers
- Smartphone photographers who want better night images
- Visitors who want to see The Windows area after dark
- Couples or friends looking for a memorable evening in Arches
- Camera owners who want help with manual settings
- People who prefer a small group over a large bus-style outing
It is not suitable for children under six, wheelchair users, or people with mobility impairments. Pets are not allowed. You should bring water, hiking shoes, a camera, and a charged smartphone.
The ground is dark and uneven, and the tour includes drop-off areas. If you are uneasy walking on rocky trails at night, think carefully before booking. The guide provides safety help, but this remains a hike, not a paved overlook visit.
Simple preparation that improves your results
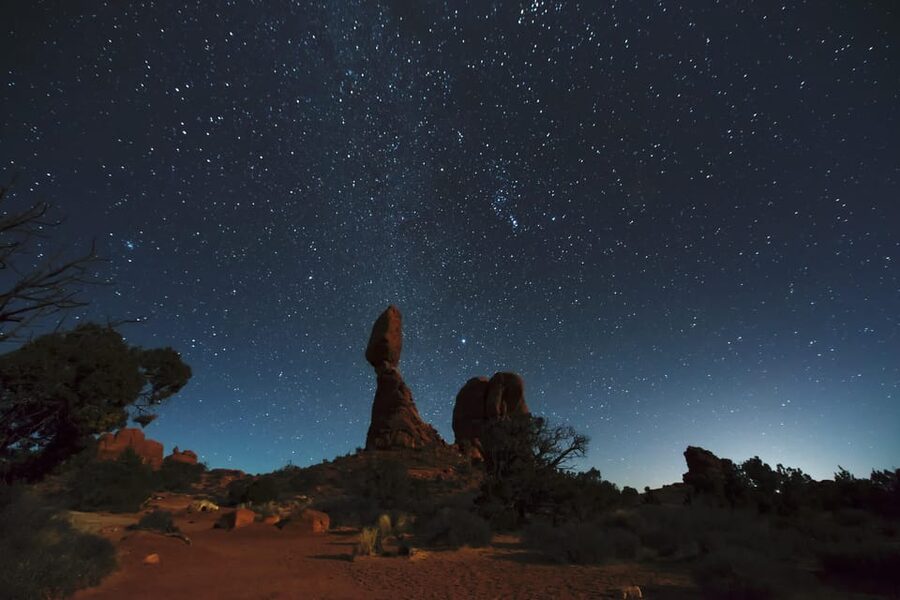
Charge every device before leaving. A phone used for night photography can lose power quickly, and you do not want to spend the short tour searching for a cable or battery pack.
Wear proper hiking shoes rather than casual sandals. Bring water even though the walk lasts about two hours. Keep your camera settings accessible, and if you plan to rent equipment, arrange the DSLR or lens before the tour begins.
You do not need to bring a tripod if you want to use one. Tripods are included when needed. The headlamps are also supplied, but you should still dress for nighttime conditions and be ready for changing temperatures.
Most important, arrive with realistic goals. You may come away with a spectacular Milky Way image, but the real benefit is learning a method you can use again. The guide’s help with phones is particularly useful because you can continue practicing after the trip without buying expensive gear.
Should you book the Windows night hike?
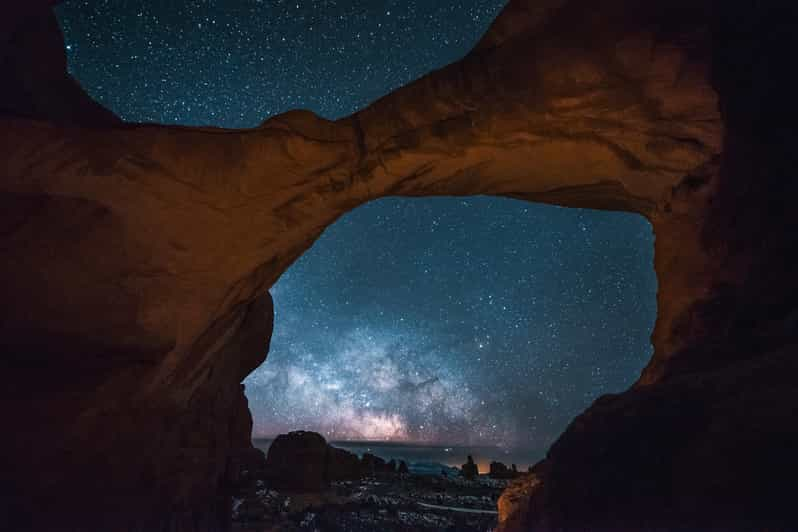
I would book this tour if you want more than a quick look at stars. The combination of North Window, South Window, Turret Arch, and Double Arch gives you a strong route, while the small group lets the guide help with individual cameras and phones.
The best match is someone willing to walk in the dark, experiment with settings, and accept that weather and moonlight affect the result. I would skip it if you only want a short stargazing stop, need an accessible route, or are not prepared to pay the park fee and possible equipment rental on top of the $175 tour price.
For first-time night photographers, the personal instruction is the main reason to go. Guides Sam and Brandon have shown patience, safety awareness, and skill with both smartphones and dedicated cameras. That practical help, set among Arches formations after dark, gives this outing its real value.
FAQ
How long is the Windows astro-photography hike?
The guided experience lasts two hours and involves roughly two miles of hiking from The Windows trailhead.
Where does the tour meet?
Meet at The Windows parking area in the first parking lot on the right.
Is transportation to Arches National Park included?
No. You must arrange your own transportation to the meeting point.
Is the Arches National Park entry fee included?
No. The listed fee for a standard vehicle is $30.
Are headlamps and tripods provided?
Yes. Red LED headlamps and tripods, if needed, are included.
Can I use a smartphone instead of a DSLR?
Yes. Guides have helped people take night photographs with iPhones and other smartphones.
Can I rent a camera or lens?
Yes. A DSLR camera and DSLR lenses with Canon EF/EFS and Nikon F mounts are available for an additional fee.
What should I bring?
Bring a camera, hiking shoes, water, and a charged smartphone.
Is the hike suitable for children and wheelchair users?
The activity is not suitable for children under six, people with mobility impairments, or wheelchair users. Pets are also not allowed.
Just added around the USA
- Private Wynwood Miami Photoshoot★ 3.0 · 2 reviews
- Private Sunset and Night Photo Tour★ 5.0 · 3 reviews
- Private Vacation Photography Session with Local Photographer in Miami★ 3.0 · 2 reviews
- Miami: Professional Private Photoshoot at Miami Beach★ 5.0 · 2 reviews
- Photographer, Professional Photo Shoot – Miami★ 3.0 · 2 reviews
- Private Vacation Photoshoot with Photographer in Lahaina★ 5.0 · 2 reviews
- Private Road To Hana Tour with Professional Photos Included★ 5.0 · 19 reviews
- Professional Photographer in Maui★ 4.5 · 3 reviews
Night & Astro Photography, compared.
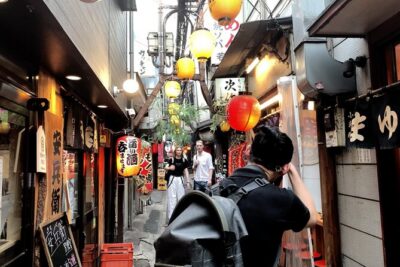
Tokyo by Night Photography Tour (Private Option Available)
Read our review →
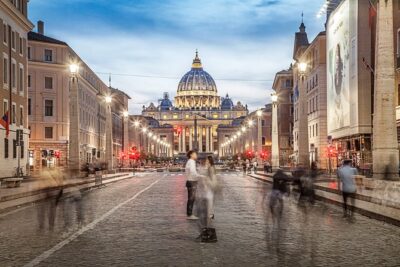
Night Photo Session in a Fiat 500 with Aperol Spritz
Read our review →
Private Guided Night Photography Tours on Cape Cod (for one photographer.)
Read our review →
Browse the lists this shoot appears in