
Review · NIGHT & ASTRO PHOTOGRAPHY
Osaka Night Photography Workshop
Osaka after dark rewards a camera ready to work. This three-hour private workshop pairs Osaka’s famous night streets with practical instruction from photographer Irven Lewis. I like the hands-on format, especially the chance to work on manual settings, tripods, composition, and light trails while you are actually out shooting. I also like the flexible route, which can adapt to your interests and pace.
The main consideration is the amount of walking. The route covers Dotonbori, Nipponbashi, Shinsekai, and Tennōji, with a train ride included along the way. You should also bring spare batteries. One participant covered so much ground that a camera battery ran out before the evening did.
Key points to know before booking
- Dotonbori starts the evening with bold signs and reflections: This is a strong place to practise exposure, framing, and timing amid Osaka’s famous neon.
- Irven Lewis adjusts the lesson to your level: Beginners can learn camera basics, while experienced photographers can ask for less familiar locations and more advanced techniques.
- The route reaches four Osaka areas: You begin in Dotonbori, continue to Nipponbashi and Shinsekai, then take a train to Tennōji.
- You practise, rather than simply watch: The workshop covers manual mode, aperture, ISO, shutter speed, tripods, light trails, and composition.
- It is a private three-hour session: That gives you room to ask questions and set the pace, but the route may feel busy if you want to stop for many long exposures.
- Bring comfortable shoes and extra battery power: Food is not included, and the walking can add up quickly.
Why this Osaka workshop is different
Many city photo outings are really sightseeing walks with a few camera tips added. This one is built around improving how you use your camera. You do not simply point at Osaka’s signs and hope for a good result. Irven works through the decisions behind a night photograph: how much light to let in, how long to keep the shutter open, where to place the subject, and when to press the button.
That matters because night photography exposes weak camera habits very quickly. Auto mode may produce a bright image, but it can also blur moving people, flatten the scene, or turn bright signs into pale patches. Learning to control the exposure triangle gives you a better chance of making the picture match what you saw.
The workshop is suitable for an absolute beginner who wants help with camera basics. It also welcomes DSLR, mirrorless, and smartphone users. A professional photographer may find the greatest value in Irven’s local route knowledge and the ability to request places outside the usual stops.
The session costs $200 per person. For a private three-hour workshop, that is a serious price, but the value rests on the instruction rather than the number of sights. If you want individual feedback, practical coaching, and help finding strong night scenes, the cost can make sense. If you only want a quick introduction to Osaka’s main streets, you may get better value from a regular walking tour and a self-guided photography evening.
More Night and Astro Photography in Japan:
- Tokyo by Night Photography Tour (Private Option Available)
★ 5.0 · 151 reviews - Tokyo Shinjuku Night Photo Tour with Pro Gota
★ 5.0 · 142 reviews - Private Stargazing Photography Tour In Kabira Bay
★ 5.0 · 9 reviews
Starting in Dotonbori under the neon signs
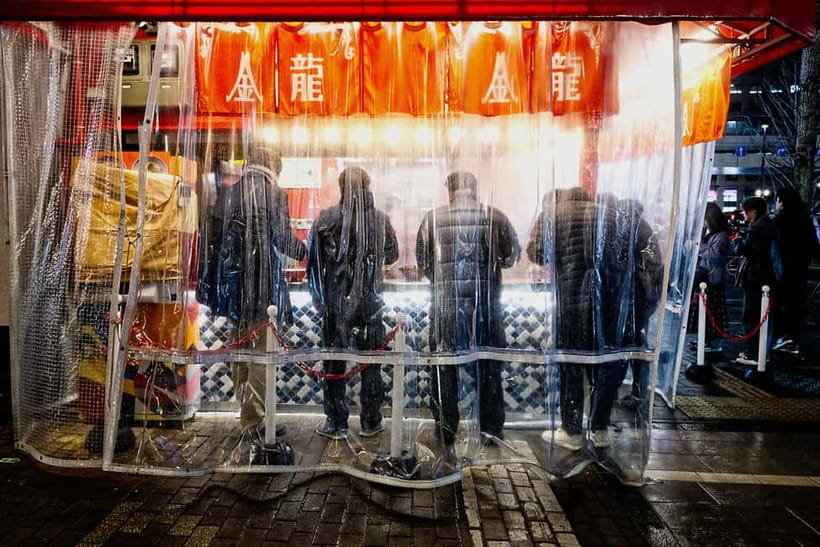
Dotonbori is an obvious place to begin, and in this case that is a good thing. The area gives you a clear lesson in visual overload. Bright signs, shop fronts, crowds, waterways, reflections, and moving traffic all compete for attention. Your first task is not simply to photograph everything. It is to decide what deserves the frame.
This is where I would expect the coaching to be most useful for a beginner. Irven can help you see why one angle works better than another, how to avoid a messy background, and how to frame a subject against the city lights. You can also begin adjusting aperture, ISO, and shutter speed before the route becomes more complex.
Dotonbori is well suited to learning exposure because the light changes from one step to the next. A bright sign may require a different setting from a darker side street. That contrast helps you understand why manual photography is not about choosing one setting and leaving it alone all night.
You may also work on timing. People crossing the frame, passing bicycles, and moving traffic can either distract from a photograph or give it life. The goal is to learn when movement helps the image and when it simply creates blur.
The drawback is that Dotonbori can make it hard to concentrate. There is plenty to look at, and a three-hour session can disappear quickly if you stop at every sign. Your guide’s job is partly to keep the evening focused, especially if you are hoping to practise longer exposures or review several images.
Nipponbashi for more controlled compositions
From Dotonbori, the workshop continues to Nipponbashi. This shift gives the session a different visual rhythm and keeps it from becoming one long series of neon snapshots.
Nipponbashi is included as a place to keep working on composition, framing, and light. The value here is not just the location itself. It is the chance to compare how you photograph a second area after receiving advice in Dotonbori.
A good workshop should help you notice progress during the same evening. You might begin by centering every subject, then start looking for lines, layers, foreground details, or a stronger balance between light and shadow. You may also learn how to use a tripod for sharper images when the available light drops.
The tripod lesson is especially useful if you are new to night photography. Holding a camera by hand at slow shutter speeds often produces soft images. A tripod lets you keep the camera still, but it also requires patience. You need to think about the frame, the exposure, and the timing instead of firing off quick shots.
The three-hour limit affects this part of the route. Nipponbashi is one of several stops, so you should not expect an extended masterclass at every corner. If you want detailed work on a specific technique, tell Irven early. The itinerary is flexible, and the workshop can be adjusted to your interests and pace.
Shinsekai brings a nostalgic Osaka mood
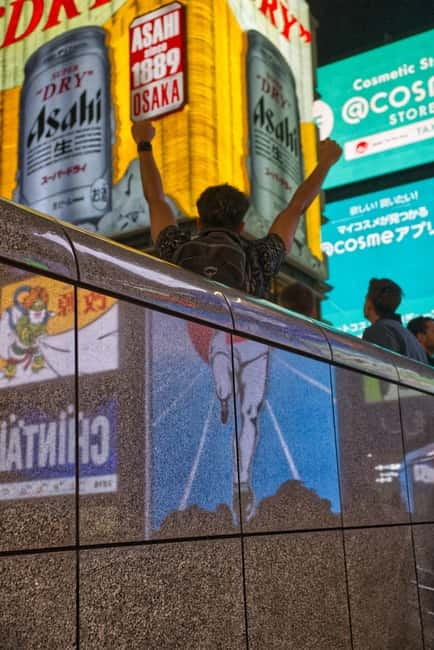
The route then moves to Shinsekai, an area described as nostalgic and well suited to photography. This stop adds character beyond the polished spectacle of Dotonbori. It gives you a chance to look for atmosphere, older streets, signs, and everyday details.
For a beginner, Shinsekai can be a useful place to practise finding a subject rather than waiting for an obvious landmark. A strong street photograph may come from the relationship between a person, a sign, a doorway, and a pool of light. Irven’s role is to point out what might make a good picture and explain how to approach the frame.
This is also where timing and patience become important. Street photography is not only about technical settings. You need to watch what is happening, anticipate movement, and wait for the right arrangement of people and light. The workshop aims to help you connect those choices with the final image.
One caution is that the route involves walking through several areas, and the evening may feel active rather than leisurely. Comfortable shoes are essential. If you have limited stamina, tell the guide at the start so the pace and route can be discussed.
More Photography Workshops and Lessons in Japan:
- Kyoto Photography Masterclass – Private Photography Lesson
★ 5.0 · 11 reviews - Tokyo: Photography Masterclass – Private Photo Lesson
★ 5.0 · 7 reviews - Paris Photography Masterclass – Private Photography Lesson
★ 5.0 · 112 reviews - 2-Hour Photography Class While Touring Downtown Santa Fe, Smart Phones Welcome!
★ 5.0 · 108 reviews
Tennōji finishes the route with more photo options
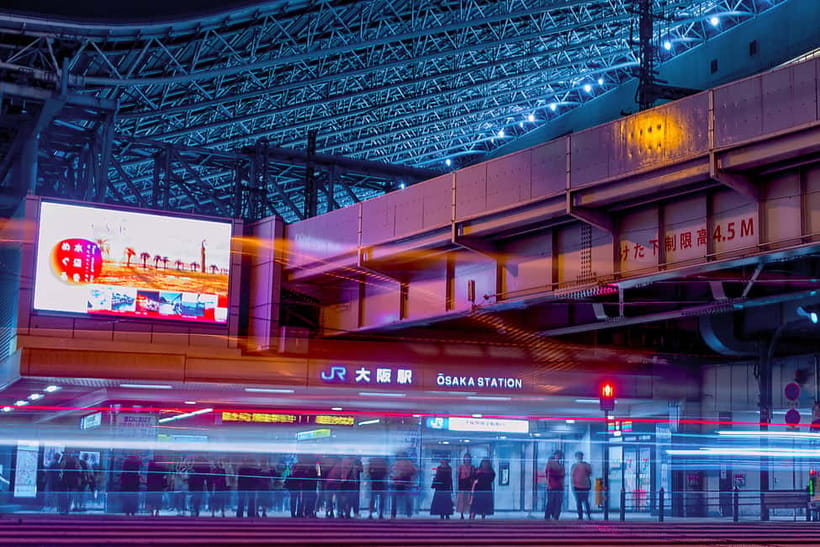
After Shinsekai, you catch a train to Tennōji. The transport link adds variety to the evening and gives you another part of Osaka to photograph instead of ending at the same type of street where you began.
The description promises many photo opportunities in Tennōji, but it does not specify one fixed landmark or viewpoint. That is useful if you want a flexible session, though you should not book this expecting a guaranteed list of particular compositions. The exact choices can depend on your interests, pace, and the guide’s judgment on the night.
Tennōji is also a practical point for applying what you have learned. By this stage, you may be more comfortable changing ISO, controlling shutter speed, and deciding how much of the scene to include. The final stop can work as a test: can you make a deliberate image without waiting for Irven to tell you every setting?
If you choose an evening session focused on light trails and illuminated scenes, this section of the route may offer another chance to work with longer exposures. Light trails require control over the camera and a steady setup. They are a good example of why the workshop teaches both tripod use and manual settings.
The photography lessons you actually practise
The technical subjects are practical rather than academic. You work with the exposure triangle:
- Aperture: Controls how much light enters and affects the look of the image.
- ISO: Helps the camera work in darker conditions, with image quality to consider.
- Shutter speed: Controls exposure time and can freeze movement or create blur and light trails.
You also practise composition and framing. These are easy words to hear and forget, so the one-to-one format matters. Irven can respond to the photograph in front of you instead of giving only a general lecture.
The workshop also includes feedback and photo review. That may be the most useful part for someone who already knows the basic buttons on a camera. Technical confidence grows faster when you can ask why an image feels weak and receive a direct answer.
Smartphone users are welcome, but you should keep your expectations realistic. A phone can produce strong night images, yet the controls and tripod setup may differ from those of a DSLR or mirrorless camera. The lesson can still help with composition, timing, and seeing light, even if the settings are not identical.
What Irven Lewis adds to the evening
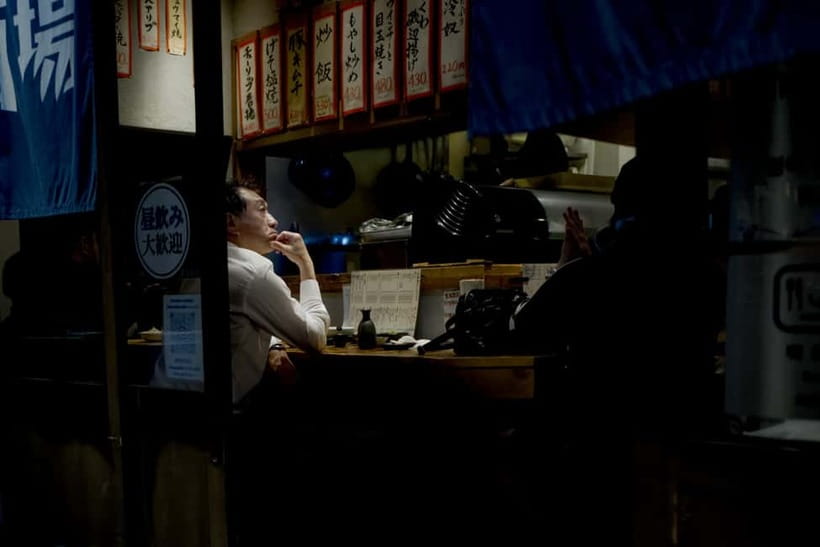
The guide is Irven Lewis, the photographer behind Irven Lewis Photography. His teaching style, based on the information provided, is flexible and tailored to the person in front of him.
That flexibility appears important. One participant asked to visit places Irven does not usually include, and he agreed. That makes this a better fit for someone who has a specific photographic interest or wants to move beyond the standard Osaka route.
Another participant was new to street photography and needed help identifying good subjects. Irven matched the pace to that skill level. This is a strong point for beginners, who can easily feel lost in a busy city with a camera in hand.
At the same time, you should speak up about what you want. A private guide can adapt, but only if you explain whether you want camera instruction, local photo spots, street photography practice, light trails, or a mixture of all four.
The walking, train ride, and practical workload
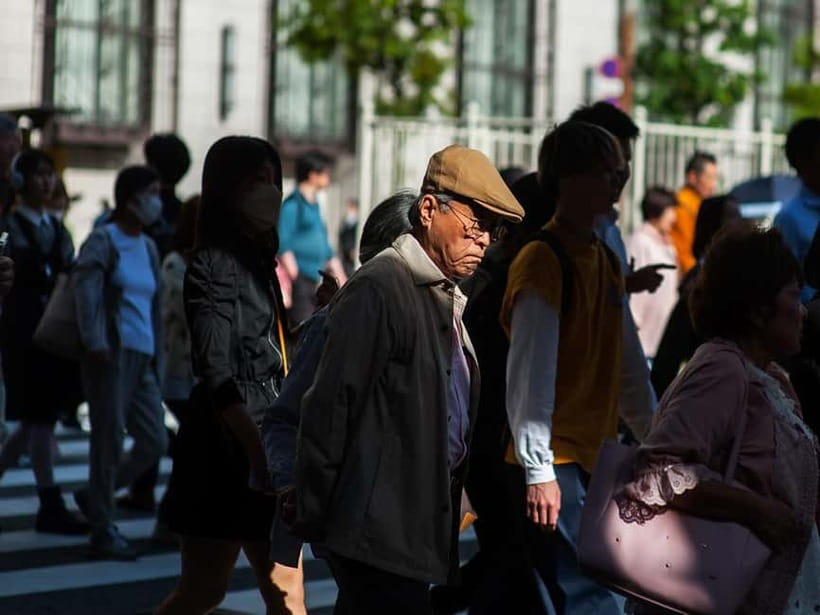
The workshop lasts three hours, but the physical effort is not limited to the clock. You walk between several districts, and the route includes a train ride to Tennōji. The amount of walking can be substantial, particularly if you stop often to compose images.
Wear comfortable shoes. Bring spare batteries, and consider carrying enough memory space for a full evening of shooting. One participant’s battery ran out before the photography did, a small but useful warning for anyone who normally relies on a single charge.
Food is not included. The experience is about photography, not a meal or a long restaurant stop, so eat beforehand if you need a proper dinner. There is no reason to expect the three-hour session to include a dedicated food break.
The activity is wheelchair accessible, but the multi-area route and walking requirement are worth discussing in advance. Accessibility does not remove the need to consider pavement, stops, station movement, and the pace of a photography outing.
Who gets the best value from $200
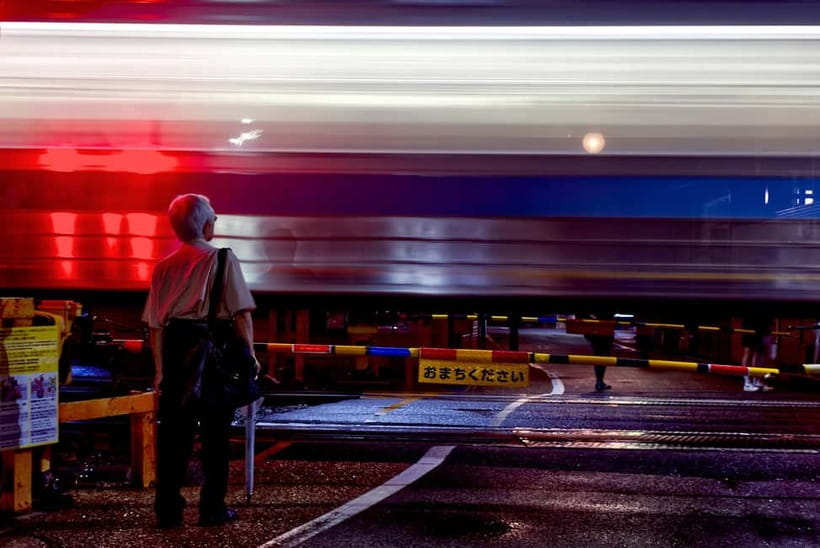
I think the price is easiest to justify for three types of people.
First, it suits beginners who want more than camera theory. You can ask questions as they come up, practise each setting in real conditions, and get help when a photograph does not work.
Second, it suits photographers with limited time in Osaka. A local guide can take you through several distinctive areas without requiring you to plan the route yourself. The private format also means you are not waiting for a large group to finish every stop.
Third, it suits experienced photographers who want local access and route flexibility. If you already understand exposure, ask for less familiar places or a particular kind of night scene. The workshop does not have to remain a basic lesson.
The value is weaker if you are mainly seeking transportation, food, or a long sightseeing tour. You are paying for personal instruction and local photography guidance. The more actively you ask questions and practise, the more useful the $200 becomes.
One important detail to clarify before booking
The Osaka route is clearly described as Dotonbori, Nipponbashi, Shinsekai, and Tennōji. However, the included features also name Kyoto locations such as Kiyomizu-dera Temple, Yasaka Pagoda, Fushimi Inari Taisha, Gion, and the Shirakawa Canal.
That does not match the Osaka itinerary. It may reflect another route offered by the same provider, but you should confirm the exact destination before paying. If you want Osaka at night, ask specifically for the Osaka route and confirm which stops are planned for your date.
The language is English, the group is private, and cancellation is free up to 24 hours before the activity for a full refund. You can also reserve now and pay later, which helps if your Japan plans are still changing.
Should you book the Osaka Night Photography Workshop?
Book it if you want personal coaching, several Osaka locations, and a real chance to improve your night photography in three hours. Irven’s flexible approach suits both a first-time camera user and an experienced photographer who wants local guidance. The strongest reasons to go are the private format, practical instruction, and mix of neon streets, nostalgic areas, and illuminated scenes.
Think twice if you dislike walking, want a fixed landmark-by-landmark sightseeing tour, or do not plan to use your camera during the session. Bring comfortable shoes, spare batteries, and a clear idea of what you want to learn. Also confirm the Osaka route, since the listed Kyoto locations do not fit the stated itinerary.
FAQ
Where does the Osaka Night Photography Workshop take place?
The route starts in Dotonbori, continues to Nipponbashi and Shinsekai, and then includes a train ride to Tennōji.
How long does the workshop last?
The workshop lasts three hours.
How much does the experience cost?
The price is $200 per person.
Is the workshop private?
Yes. It is offered as a private group experience.
What language is the tour conducted in?
The live guide speaks English.
Is the workshop suitable for beginners?
Yes. It is designed for absolute beginners as well as professionals seeking local photo guidance.
Can smartphone users join?
Yes. DSLR, mirrorless camera, and smartphone users are welcome.
What photography skills will I practise?
You can work on manual settings, the exposure triangle, aperture, ISO, shutter speed, composition, framing, light trails, timing, and tripod use.
Is food included?
No. Food is not included.
What should I bring?
Bring comfortable shoes. Spare camera batteries are also a sensible choice because the route involves several locations and plenty of shooting.
Is the experience wheelchair accessible?
Yes. The activity is listed as wheelchair accessible.
Can I cancel for a full refund?
Yes. You can cancel up to 24 hours in advance for a full refund.
More Evening Trips around Japan
- Tokyo: Evening Photography Tour
★ 4.8 · 61 reviews - Osaka by Night and Day Photo shoot
★ 5.0 · 10 reviews - Osaka Dotonbori Night Photoshoot Private | Pro Photographer
★ 4.5 · 6 reviews - Kamakura Tour with Pro Photographer: Anime Train & Fuji Sunset
★ 5.0 · 4 reviews
Just added around Japan
- A Privately Guided Photoshoot in Beautiful Kyoto by a Pro★ 5.0 · 18 reviews
- Tea Ceremony with Kimono and Professional Photoshoot in Kyoto★ 5.0 · 44 reviews
- Kyoto Photography Masterclass – Private Photography Lesson★ 5.0 · 11 reviews
- Private photo shoot & walk in Kyoto – Professional photo shoot★ 5.0 · 20 reviews
- Private Photoshoot Experience in Kyoto ( Gion )★ 5.0 · 61 reviews
- Kyoto One-day Taxi Tour by Licenced Guide Photographer 8 pax★ 5.0 · 2 reviews
- Private Photography Tour in Kyoto★ 5.0 · 2 reviews
- Exclusive Gion Kyoto Photoshoot: A Private Experience★ 5.0 · 11 reviews
Night & Astro Photography, compared.
Tokyo by Night Photography Tour (Private Option Available)
Read our review →
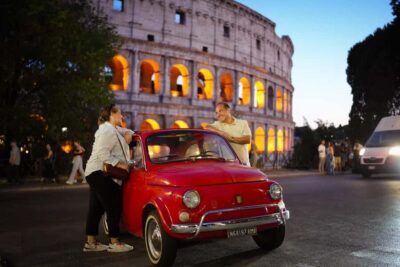
Night Photo Session in a Fiat 500 with Aperol Spritz
Read our review →
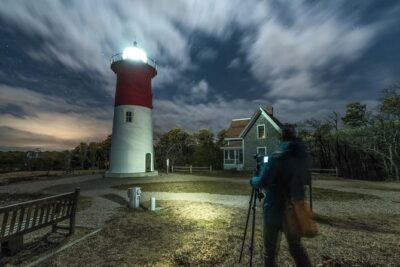
Private Guided Night Photography Tours on Cape Cod (for one photographer.)
Read our review →
Moab: The Windows Astro-Photography and Stargazing Hike
Read our review →Browse the lists this shoot appears in